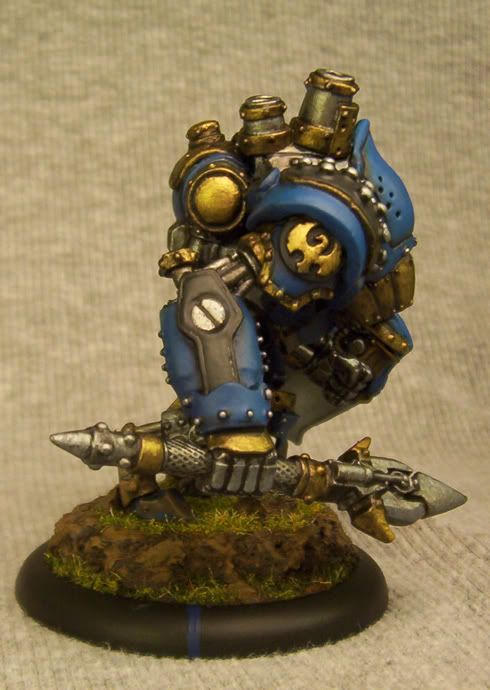
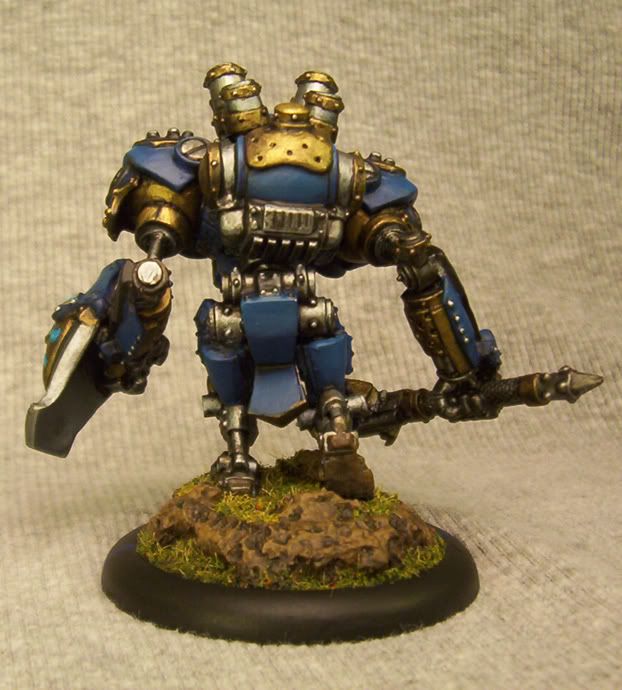
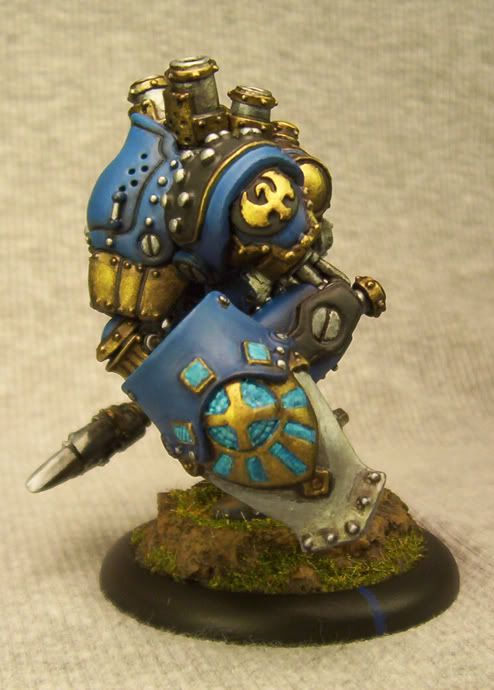
I think this may mark the end of my Circle painting for a bit. Maybe finish up some Cryx and Cygnar stuff now...
Tuesday, October 7, 2008
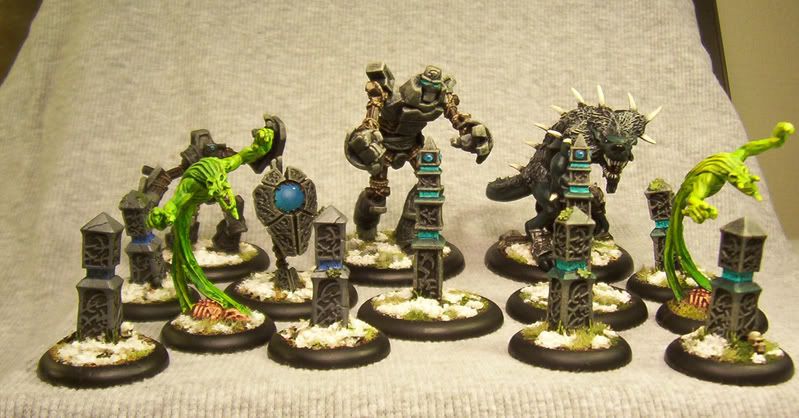
Group shot
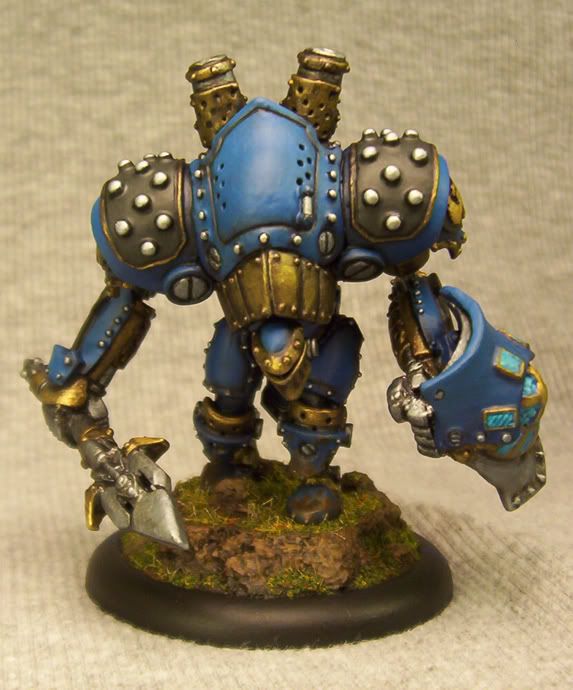
Here's the mass of Circle/Minion models I have completed to date. I just love group photos. This one's a little crowded, but still makes me feel good.
I think this may mark the end of my Circle painting for a bit. Maybe finish up some Cryx and Cygnar stuff now...
Wednesday, September 24, 2008
Woldwarden Step-by-Step
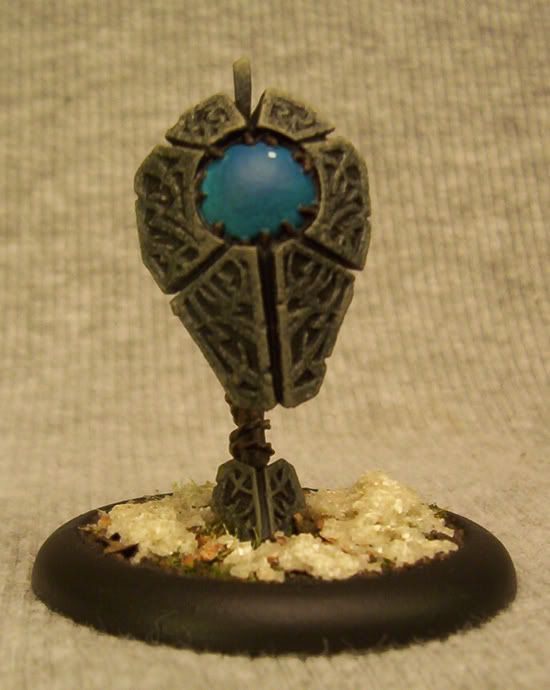
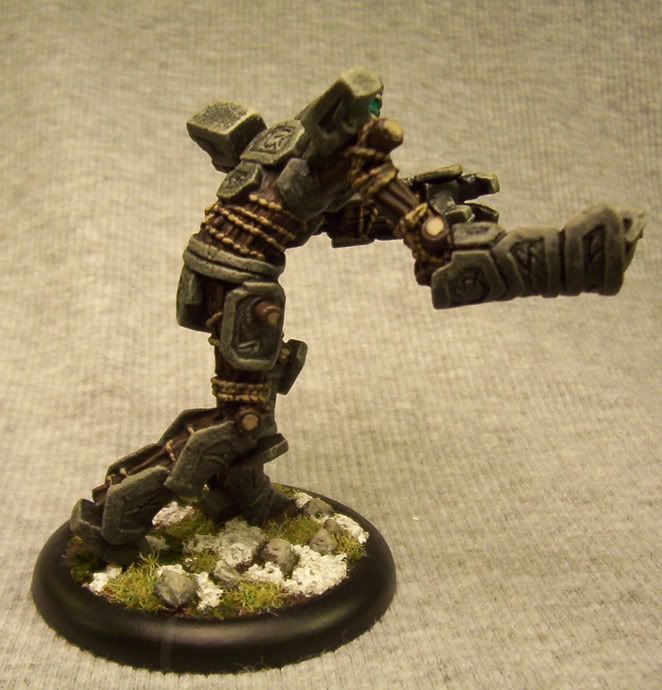
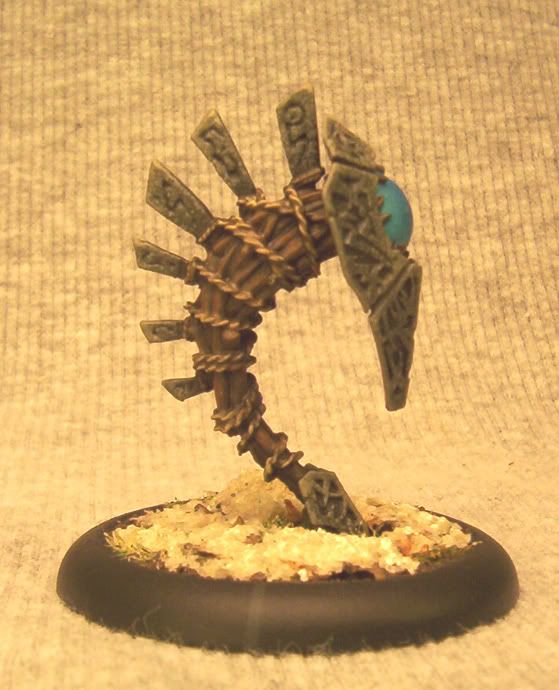
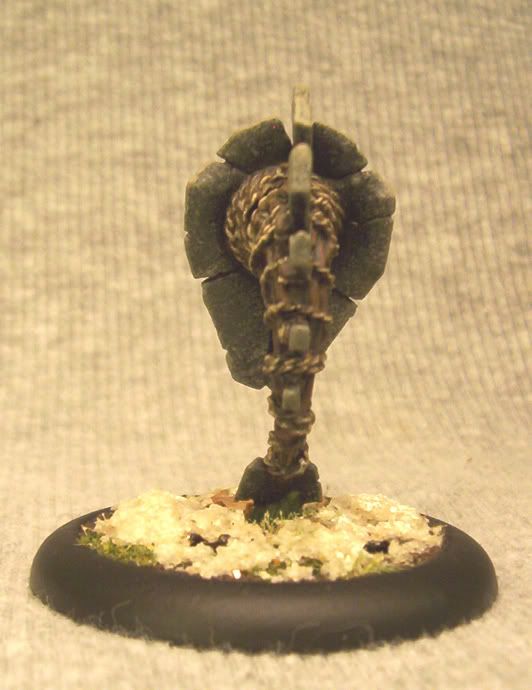
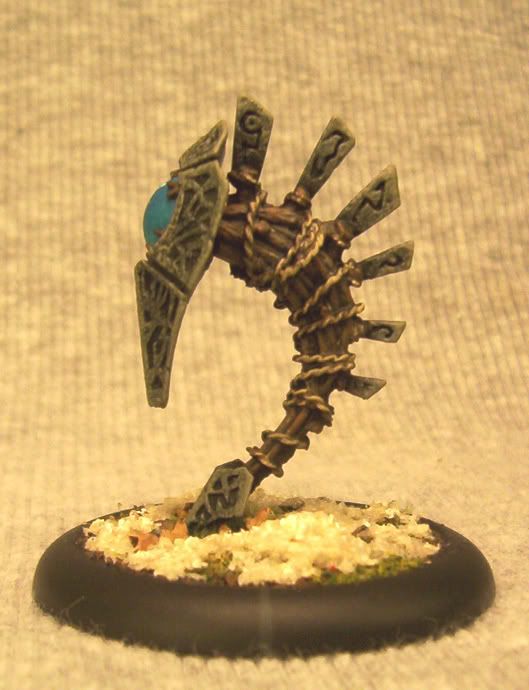
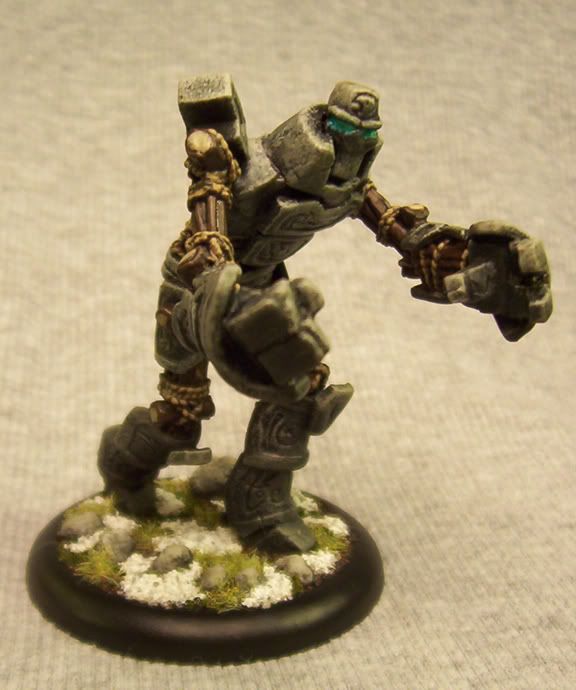
Took on the Woldwarden next. Made some changes from the Woldwatcher experiences and went ahead with the sponge painting approach again.
Pics, as promised.

Second angle
Third angle
Fourth angle
- Base coat all stone areas black (this guy was primed white - mistake). White out the "eyes" and some of the surrounding area. The sponging will help delineate the appropriate eye area.
- Sponge or stipple (in tight areas) in consecutive, diminishing layers - VMC Black Grey, P3 Ironhull Gray, P3 Cryx Bane Base, P3 Cryx Bane Highlight, P3 Trollblood Highlight. Careful to leave recessed areas black.
- Paint all the wood and ropes with a 50/50 mix of VGC Charred Brown and RMS Dark Shadow. The Dark Shadow kills a lot of the red in the Charred Brown, making for a nice even brown with a suggestion of gray tones.
- Paint all the wood "flesh" or exposed inner parts with a 5:1 mix of VGC Khaki and the mix for the rest of the wood. This deepens the Khaki and makes for a nice base.
- Paint all the ropes with a 50/50 mix of VGC Khaki and VGC Earth. Careful to keep this on the ropes and knots only. Leave some dark recesses as appropriate.
- Wash entire wood/rope areas with a mix of VMC Matte Medium, water, P3 Armor Wash, and VMC German Camo Black Brown, in equal portions.
- Highlight wood and ropes with their original colors. Highlight up more with adding VGC Khaki as appropriate.
- Wash the "eyes" with P3 Turquoise Ink. Leave some whiter areas in the middle; focus on edges.
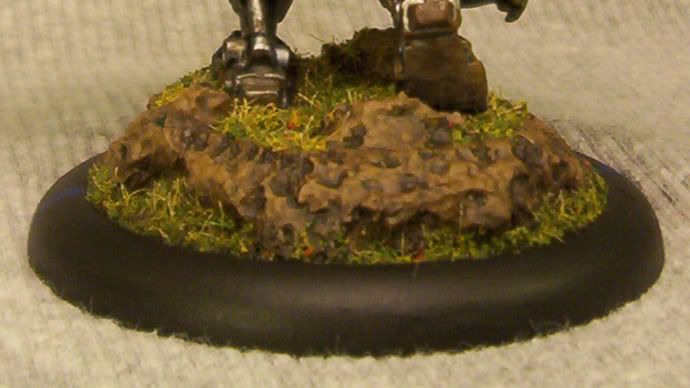
- Base per Circle Basing article below.
Pics, as promised.
Second angle
Third angle
Fourth angle
Sunday, September 21, 2008
Bones & Leaves
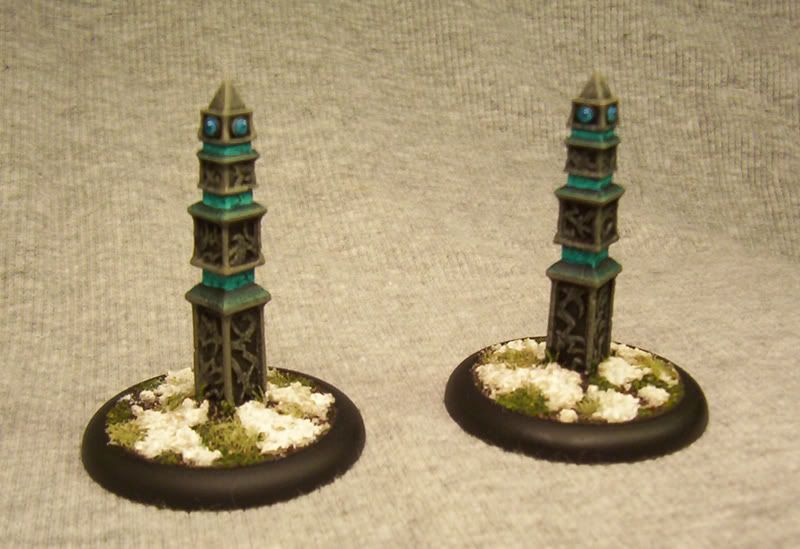
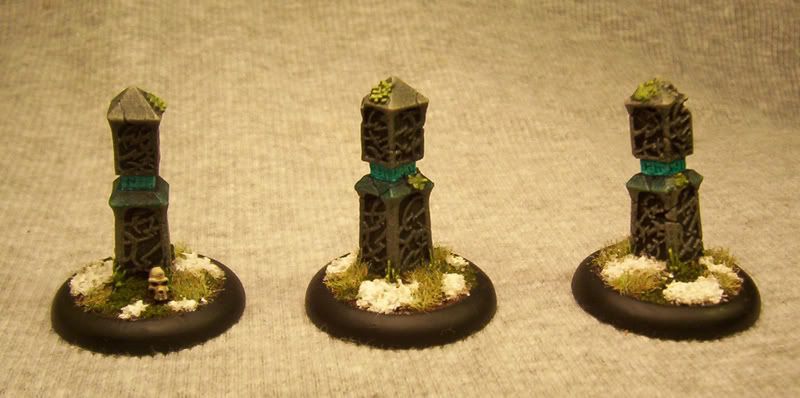
Some new techniques I stumbled upon or modified from other sources that I should document quick. First up, old bones; the kind sitting on the ground waiting...
Old bones
1. Base coat with VGC Bonewhite.
2. Wash with a watered mix of VGC Sepia Ink & VMC US Field Drab.
3. Glaze with a very light layer of VMC Brown Violet (actually a greenish color).
4. Highlight back up with VGC Bonewhite.
5. Pick out teeth with RMS Linen White.
And every once in a while, PP sculpts a model with leaves or grass. These can be hard to paint to match whatever terrain goes on the base. But I came up with this...
Leaves in Pewter
1. Base coast with VMC Brown Violet.
2. Highlight with P3 Ordic Olive
3. Consequetive highlights with P3 Ordic Olive and P3 Moldy Ochre mixed.
4. Last highlight should have a little more Moldy Ochre than you think you need; it really pops!
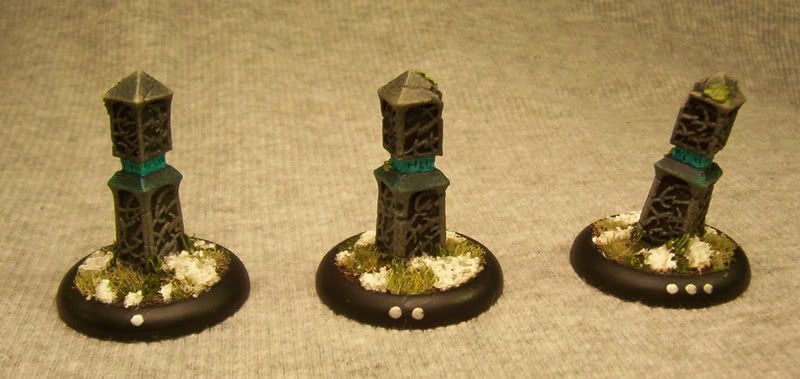
That's it. Both of the techniques were developed on my latest Shifting Stones. Should have pictures... eventually.
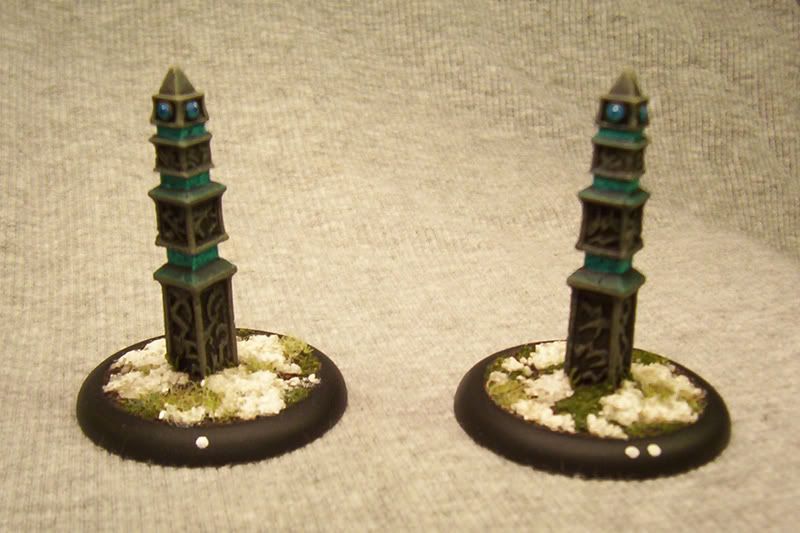
Sentry Stones

Second angle
Shifting Stones

Second angle
Old bones
1. Base coat with VGC Bonewhite.
2. Wash with a watered mix of VGC Sepia Ink & VMC US Field Drab.
3. Glaze with a very light layer of VMC Brown Violet (actually a greenish color).
4. Highlight back up with VGC Bonewhite.
5. Pick out teeth with RMS Linen White.
And every once in a while, PP sculpts a model with leaves or grass. These can be hard to paint to match whatever terrain goes on the base. But I came up with this...
Leaves in Pewter
1. Base coast with VMC Brown Violet.
2. Highlight with P3 Ordic Olive
3. Consequetive highlights with P3 Ordic Olive and P3 Moldy Ochre mixed.
4. Last highlight should have a little more Moldy Ochre than you think you need; it really pops!
That's it. Both of the techniques were developed on my latest Shifting Stones. Should have pictures... eventually.
Sentry Stones
Second angle
Shifting Stones
Second angle
Tuesday, September 9, 2008
Feralgeist #2 and new Trollbloods basing
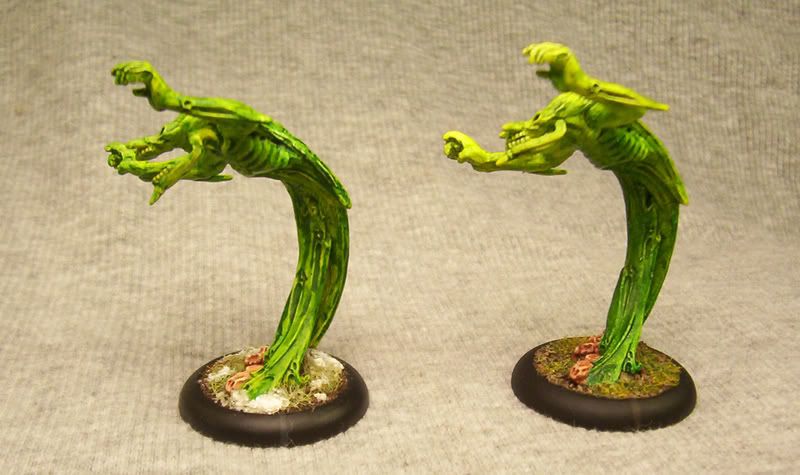
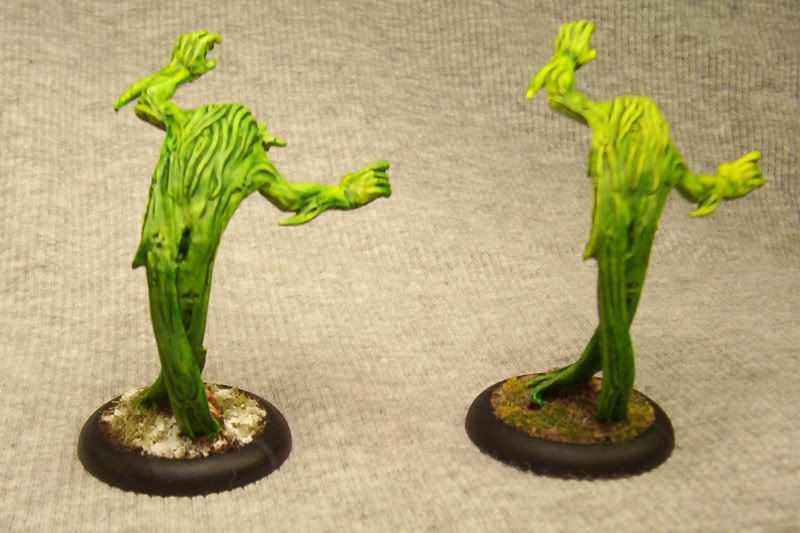
Did another "accidental" Feralgeist. Did the same process, but started with more of a 50/50 GW Dark Green and Yellow ink mix near the bottom and slowly transitioned into a mostly yellow ink near the top. Actually, did the top 1/3 and the bottom 1/3 and then transitioned between. Did the bones the same as before. The base was a bit different. Followed the Cygnar base process, but after the ballast dried, I deviated...

Second angle
Third angle
- Dry brush VGC Earth on the turf
- Dry brush a layer of VGC Earth and VGC Khaki mixed on the high areas
- Dry brush straight VGC Khaki near the tips of stuff
- Paint on front arc markings with VMC German Camo Brown Black
- Glue on smallish areas of my custom Summer Mix flock
- Glue on some areas around and above (where possible) of straight GF9 Summer Blend
Second angle
Third angle
Wednesday, September 3, 2008
Front arc markings...
Just to keep it all straight and organized, I'm writing my front arc markings color choices here. The goal is to have colors that are dark, subtle and easily overlooked when simply viewing the model, but easy enough to see in play, while also helping to tie the army together in a cohesive style.
Minions will use the color of the faction they'll most likely see time with. For example, my first Feralgeist went with the Circle Orboros front arc markings. My second one will go with Trollbloods. The colors are subtle enough, and faint enough, to not matter. Being painted's the most important part. Yay!
- Cygnar - VGC Imperial Blue
- Circle Orboros - VMC Black Gray
- Cryx - VGC Scurf Green
- Trollbloods - VMC German Camo Black Brown
- Highborn Covenant - VGC Royal Purple
- Legion of Everblight - RMS Walnut Brown
Minions will use the color of the faction they'll most likely see time with. For example, my first Feralgeist went with the Circle Orboros front arc markings. My second one will go with Trollbloods. The colors are subtle enough, and faint enough, to not matter. Being painted's the most important part. Yay!
Monday, September 1, 2008
Feralgeist: A Bit of Random Painting
I somehow just started this guy. After buying some P3 Turquoise Ink, I realized I could get a cool color if I mixed some of my preexisting inks. With my Feralgeist sitting there, primed and waiting, I went to town. Here's what I did...
Voila! He looks neat. His gloss coat is drying as I write this. He'll get dull coated tomorrow and maybe I'll get some pictures. Overall, took about two hours; should knock out the second one quick while the method is still fresh in my mind.
Good night, all!
- Cover the entire spirit portion of the model with a 50/50 mix of GW Dark Green Ink and GW Yellow Ink. Mixing in some Vallejo Matte Medium on the subsequent layers, I was able to darken the effect.*
- Paint the carcass with a solid base coat of VGC Bone White
- Wash the carcass with a mix of VGC Dark Fleshtone and water, with a drop of VMC US Field Drab, to cut the red tone. This gives an appoximation of P3 Idrian Flesh, as recommended for this model in NQ #16.
- Highlight the bones' natural edges with RMS Creamy Ivory. This approximates the 50/50 mix of P3 Menoth White Highlight and 'Jack Bone, again as recommended in NQ #16.
- Wash the entire carcass with a blend of one part GW Red Ink, two parts GW Brown Ink, and lots of water. I added some more red ink to the mix for a little extra gore. Worked well.
- Re-highlight the bones' natural edges as in step 4, but keep it subtle.
- Base as Circle Bases tutorial below - this guy will work most often with my Circle. I skipped the front arc markings since he has no melee weapon and will often be used in other factions; the colors won't clash that way. I also skipped the leaves, since his usable base area is kind of limited.
Voila! He looks neat. His gloss coat is drying as I write this. He'll get dull coated tomorrow and maybe I'll get some pictures. Overall, took about two hours; should knock out the second one quick while the method is still fresh in my mind.
Good night, all!
Saturday, August 16, 2008
Morvahna: Pomegranate Inspired
Based on the narrative I wrote last year about Kaya's battle against the skorne and her relationship (a bit) with Morvahna, and given my personal desire to paint more, I'm looking for inspiration for the high lady of Orboros.
How can I work the pomegranate imagery of my story into my paint scheme for Morvi? If you have any suggestions, please include how I'd achieve the effect. So far, I'm thinking her cloak will be a deep red/pomegranate color, the color of the seeds.
Here's a good photo reference, but I'm struggling on how to achieve these colors. What would you start with and how would you shade/highlight? And here's one with more high and low lights.
(I know this post is kinda scattered, but it's an accurate portrayal of my creative process.)
EDIT: Quickly playing around with my available paints, I found that VGC Gory Red mixed with VGC Hexed Lichen, in a 5:1 ratio, resulted in the base color I'm looking for. I think adding a smidgen of VGC Imperial Purple might result in a good shading color. But the reference photos show a strange fleshy highlight color. Maybe I'll play with VMC Beige Red for a highlight mix (an almost identical color to P3 Midlund Flesh), followed by some glazes of red ink. That might work in light of the "painting gems" tutorial in NQ #16. Any thoughts?
How can I work the pomegranate imagery of my story into my paint scheme for Morvi? If you have any suggestions, please include how I'd achieve the effect. So far, I'm thinking her cloak will be a deep red/pomegranate color, the color of the seeds.
Here's a good photo reference, but I'm struggling on how to achieve these colors. What would you start with and how would you shade/highlight? And here's one with more high and low lights.
(I know this post is kinda scattered, but it's an accurate portrayal of my creative process.)
EDIT: Quickly playing around with my available paints, I found that VGC Gory Red mixed with VGC Hexed Lichen, in a 5:1 ratio, resulted in the base color I'm looking for. I think adding a smidgen of VGC Imperial Purple might result in a good shading color. But the reference photos show a strange fleshy highlight color. Maybe I'll play with VMC Beige Red for a highlight mix (an almost identical color to P3 Midlund Flesh), followed by some glazes of red ink. That might work in light of the "painting gems" tutorial in NQ #16. Any thoughts?
Friday, August 15, 2008
Woldwyrd Step-by-Step
Here's my Woldwyrd step-by-step, documented based on my Woldwatcher experiences, plus improvements made. I want to keep up this approach for all my constructs.
After a couple hours work, I'm on stage 11 right now. I added the slush mix this morning, now I'm hitting the movies. Later I'll be doing the gloss on the slush, and I'll be done in time to field the little bugger tonight in my Kromac rematch against Thagrosh...
W00t!
Finally, some photos...

Angle 2
Angle 3
Angle 4
----------------
Now playing: "Cut Down" by Sister Machine Gun
- Fill in any flaws from the black priming with P3 Thamar Black (use thinned with about 50% paint, 25% Stokes' Magic Mix and 25% water).
- Sponge on in decreasing coverage, sequential layers, straight from the bottle: VMC Black Grey, P3 Ironhull Grey, P3 Cryx Bane Base, P3 Cryx Bane Highlight. Simulate lighting and highlights.
- Paint "eyeball" with GW Hawk Turquoise.
- Darken upper "eyeball" by mixing turquoise with Blue Ghost wash.
- Lighten the lower area by mixing in P3 Morrow White. Dot of pure P3 Morrow White opposite the lower highlight.
- Carefully paint wood and ropes with P3 Battlefield Brown, including around "eyeball".
- Wash wood and ropes with a watered mixture of P3 Battlefield Brown and P3 Armor Wash.
- Highlight back up with P3 Battlefield Brown plus P3 Trollblood Highlight and GW Bestial Brown (to warm up the wood).
- Pick out ropes with VGC Earth and a light VGC Khaki highlight here and there.
- Wash ropes with a watered mixture of P3 Battlefield Brown. Re-highlight with VGC Khaki.
- Base, gloss coat, dull coat x2 light layers, add slush mix, dry brush P3 Morrow White, and then gloss varnish the slush.
After a couple hours work, I'm on stage 11 right now. I added the slush mix this morning, now I'm hitting the movies. Later I'll be doing the gloss on the slush, and I'll be done in time to field the little bugger tonight in my Kromac rematch against Thagrosh...
W00t!
Finally, some photos...
Angle 2
Angle 3
Angle 4
----------------
Now playing: "Cut Down" by Sister Machine Gun
Saturday, August 9, 2008
Cygnar Bases
Here's the process I've developed to base my Cygnar models (from here on out that is; some of my older models are much simpler)... Make sure you allow plenty of drying time between each stage.
**I use two different spray varnishes for a couple reasons: 1) gloss is actually the stronger protector. The stuff was designed glossy, and the process that makes it dull weakens it chemically. 2) I use my models; a lot, in some cases. Having a layer of gloss coat at the bottom lets you know when the dull coat is wearing off so you can reapply before the paint is damaged. 3) I have this pesky problem where all the matte medium I use (and I use a lot) interacts with dull coat and turns a milky white in the deep recesses where it should be black. It's very annoying. I've found gloss coat doesn't interact with the matter medium. 4) I find something satisfying about bringing all the mixed gloss/satin/matte of the model up to an even gloss, and then down to an even dull, helps bring all the colors into alignment and blends away a lot of little color gradient goofs.
***My static grass mix is a roughly 50/50 mix of classic bright green static grass and GF9's Winter/Dead grass. It mutes the intensity of the green grass enough that you don't need to dry brush the grass if you don't want to. It looks more realistic, in my opinion.
So that's it. Documented for posterity. I'll post some pictures of my Centurion that I finally finished later on today or tomorrow...
Finally, some photos... figure since this is a post about basing, I'd start there.

Then show the whole model...

Angle 2
Angle 3
Angle 4
----------------
Now playing: "Dig It" by Skinny Puppy
- Paint entire inside area of base, including any cork, with VGC Earth.
- Using 50/50 PVA glue to water to glue my ballast/sand mix into place.
- Wash the entire base with a wash of P3 Battlefield Brown.
- For cork bases, add P3 Armor Wash to the original wash; apply in the deep recesses.
- Dry brush or stipple VGC Earth onto the natural highlights.
- Clean up black border on base; paint front arc markings in VGC Imperial Blue.
- Using above PVA mix, glue "Summer Flock" into place*.
- One strong layer of Testor's Gloss Coat, following by 2 light coats of Tester's DullCote**.
- Using above PVA mix, glue tufts of my static grass mix into place***.
**I use two different spray varnishes for a couple reasons: 1) gloss is actually the stronger protector. The stuff was designed glossy, and the process that makes it dull weakens it chemically. 2) I use my models; a lot, in some cases. Having a layer of gloss coat at the bottom lets you know when the dull coat is wearing off so you can reapply before the paint is damaged. 3) I have this pesky problem where all the matte medium I use (and I use a lot) interacts with dull coat and turns a milky white in the deep recesses where it should be black. It's very annoying. I've found gloss coat doesn't interact with the matter medium. 4) I find something satisfying about bringing all the mixed gloss/satin/matte of the model up to an even gloss, and then down to an even dull, helps bring all the colors into alignment and blends away a lot of little color gradient goofs.
***My static grass mix is a roughly 50/50 mix of classic bright green static grass and GF9's Winter/Dead grass. It mutes the intensity of the green grass enough that you don't need to dry brush the grass if you don't want to. It looks more realistic, in my opinion.
So that's it. Documented for posterity. I'll post some pictures of my Centurion that I finally finished later on today or tomorrow...
Finally, some photos... figure since this is a post about basing, I'd start there.
Then show the whole model...
Angle 2
Angle 3
Angle 4
----------------
Now playing: "Dig It" by Skinny Puppy
Sunday, June 8, 2008
Tharn Ravagers Layer by Layer
Ok, I don't want to get rid of the richness of my prior post, but I need something more user-friendly. So here it is; my Tharn layer-by-layer
Skins
----------------
Now playing: "Inside of me" by Benny Benassi
Skins
- Base coat - RMS Tanned Skin, RMS Grey Liner [1:1]
- Flesh tone, 2-3 coats for coverage - RMS Tanned Skin, RMS Grey Liner, Stokes' magic sauce, H2O [7:1:1:1]
- Flesh wash #1 - RMS Tanned Skin, RMS Grey Liner, Stokes' magic sauce, Matte Medium, water [3:1:2:1:5]
- Flesh wash #2, recesses only - RMS Tanned Skin, RMS Grey Liner, VMC German Camo Brown Black, Stokes' magic sauce, VGC Matte Medium, water [1:1:1:2:1:5]
- Highlight #1, same as Flesh tone - RMS Tanned Skin, RMS Grey Liner, Stokes' magic sauce, H2O [7:1:1:1]
- Highlight #2 - RMS Tanned Skin, RMS Grey Liner, Stokes' magic sauce, H2O [9:1:1:1]
- Highlight #3 - RMS Tanned Skin, RMS Grey Liner, Stokes' magic sauce, H2O [11:1:1:1]
----------------
Now playing: "Inside of me" by Benny Benassi
Subscribe to:
Posts (Atom)