- Base coat all stone areas black (this guy was primed white - mistake). White out the "eyes" and some of the surrounding area. The sponging will help delineate the appropriate eye area.
- Sponge or stipple (in tight areas) in consecutive, diminishing layers - VMC Black Grey, P3 Ironhull Gray, P3 Cryx Bane Base, P3 Cryx Bane Highlight, P3 Trollblood Highlight. Careful to leave recessed areas black.
- Paint all the wood and ropes with a 50/50 mix of VGC Charred Brown and RMS Dark Shadow. The Dark Shadow kills a lot of the red in the Charred Brown, making for a nice even brown with a suggestion of gray tones.
- Paint all the wood "flesh" or exposed inner parts with a 5:1 mix of VGC Khaki and the mix for the rest of the wood. This deepens the Khaki and makes for a nice base.
- Paint all the ropes with a 50/50 mix of VGC Khaki and VGC Earth. Careful to keep this on the ropes and knots only. Leave some dark recesses as appropriate.
- Wash entire wood/rope areas with a mix of VMC Matte Medium, water, P3 Armor Wash, and VMC German Camo Black Brown, in equal portions.
- Highlight wood and ropes with their original colors. Highlight up more with adding VGC Khaki as appropriate.
- Wash the "eyes" with P3 Turquoise Ink. Leave some whiter areas in the middle; focus on edges.
- Base per Circle Basing article below.
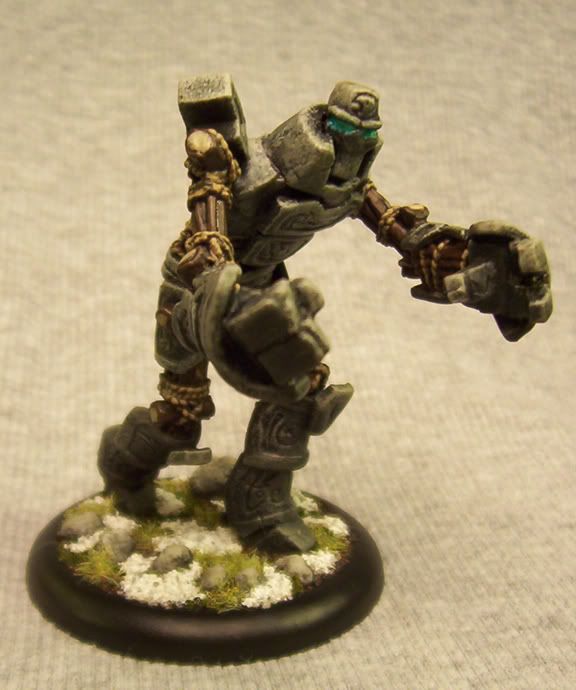
Pics, as promised.
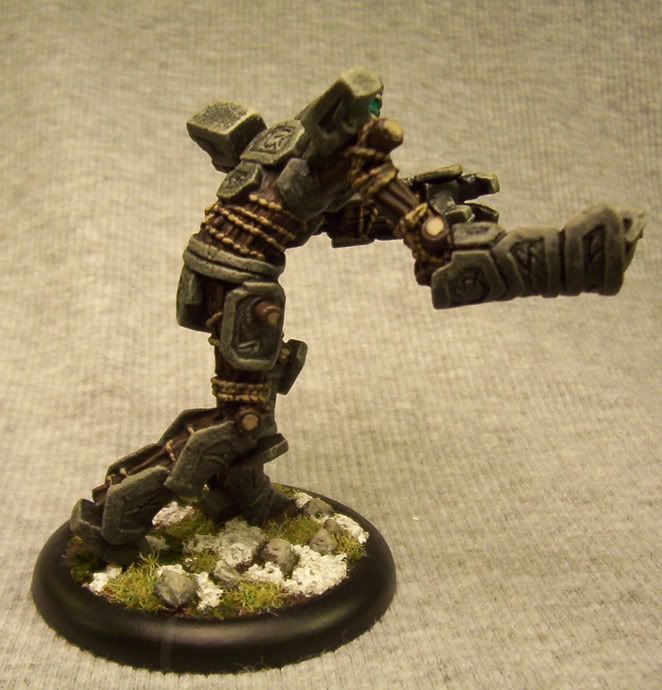
Second angle
Third angle
Fourth angle
1 comment:
(*eagerly awaits the pics*)
Post a Comment