First, I want to say that the 4-11 tournament I played in was a blast! Very intense and fast-paced games against some great people, with some hilarious April Fools' scenarios. Chuck's Hoarluk and Pete's eSkarre managed to take down big Termi, but Terminus personally took down Sarah's Haley and Kev's Butcher in some spectacular style (stacking Malediction and Dark Shroud on the Butcher, leaving him DEF 12, ARM 14... priceless). Overall, I took best in Cryx by strength of schedule (the Butcher was against someone who had 4 defenses of his table; we played Stampede style for this event; great format). Of course, Terminus ended up a little worse for wear; transporting him is near-impossible...
(
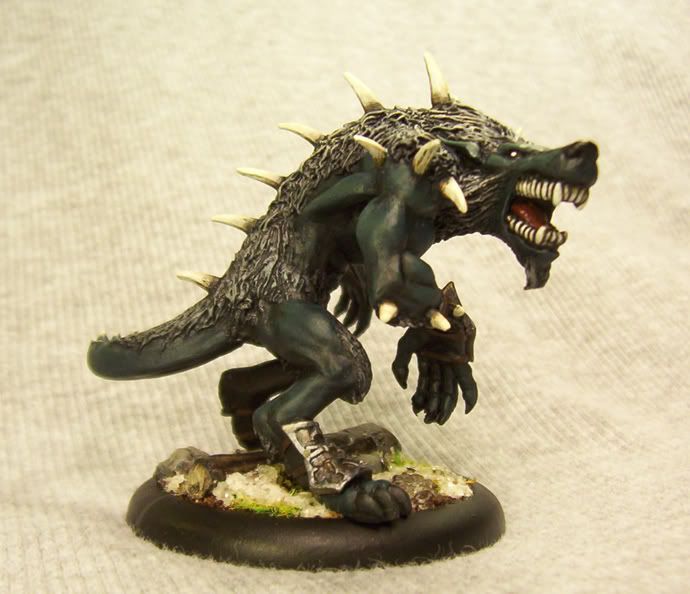
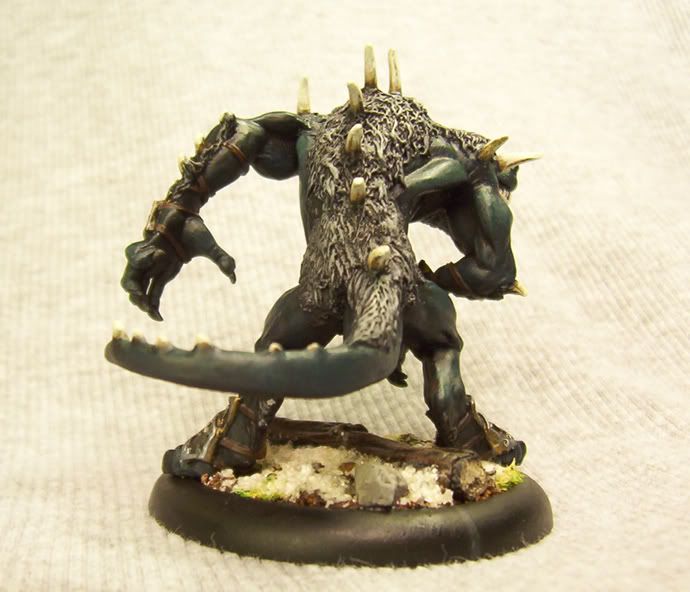
Terminus update:
designed and executed a solution)
So, after a good showing of hard work last weekend, I'm continuing to push forward with general maintenance and catch-up projects. See my last blog for details on last week's accomplishments. Now onto the new goals. This will finish the priming of my Cygnar & Circle, get a few repairs done, and finish all my lingering assembly work.
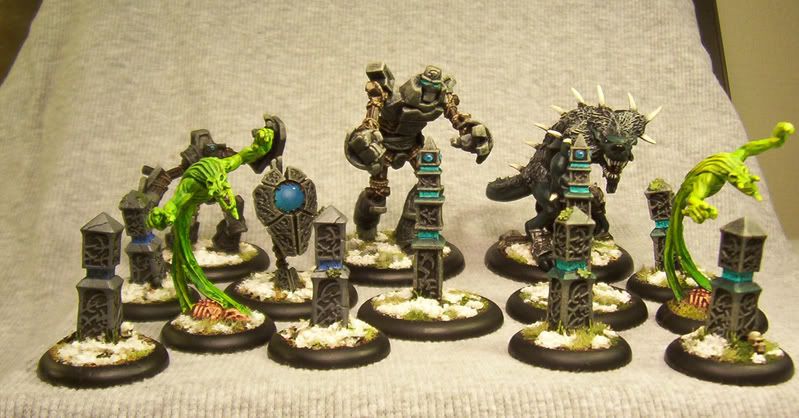
Fully-Primed '08 - Cygnar-Circle-Cryx
-
[DONE] All Cygnar (minus the Thunderhead)
-
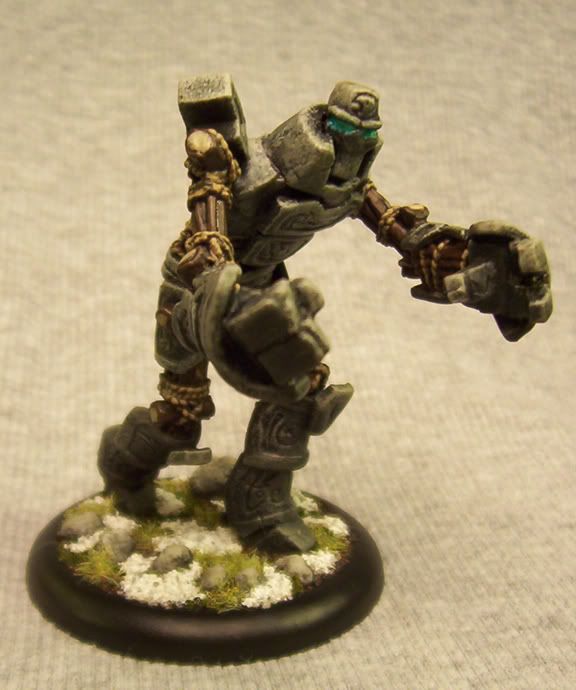
[DONE] All Circle models
-
[DONE] 64 Cryx models (16 left to fully-primed)
Clean-ups & Repairs - the list grows...
-[NEXT BLOG] Thunderhead (reassembly/cleaning)
-[NEXT BLOG] Lich Lord Terminus (to pin some spines)
-[NEXT BLOG] Lich Lord Asphyxious (brass rod)
-[NEXT BLOG] Two (2) Bane Knights (brass rod)
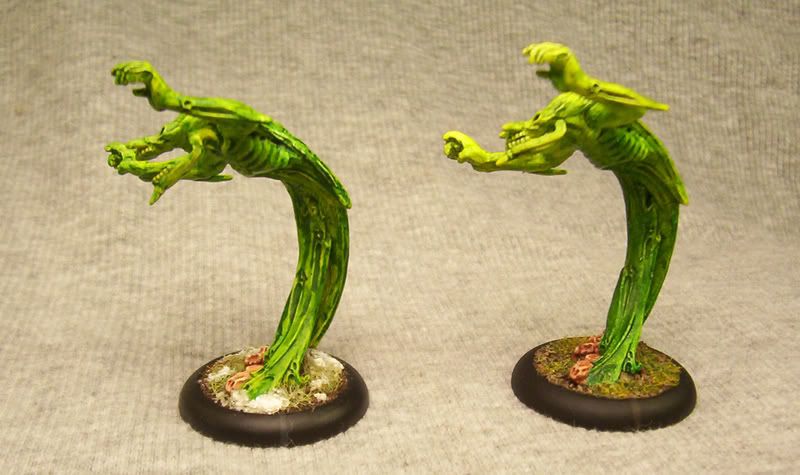
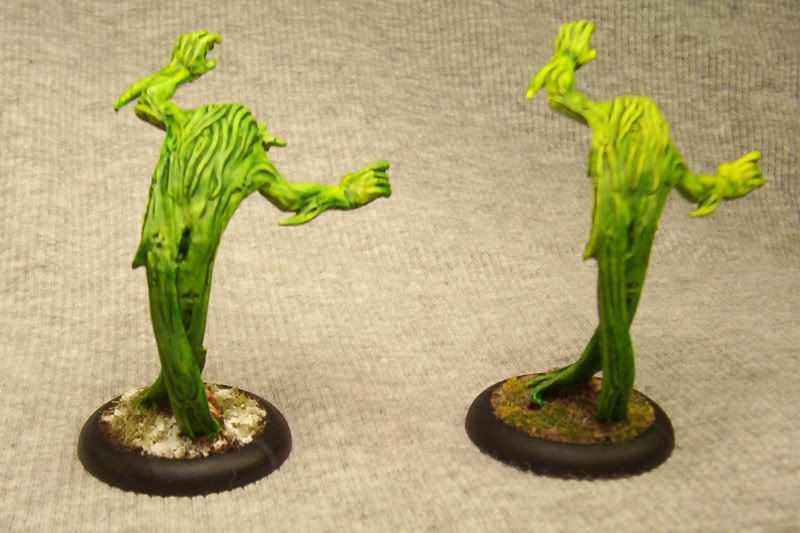
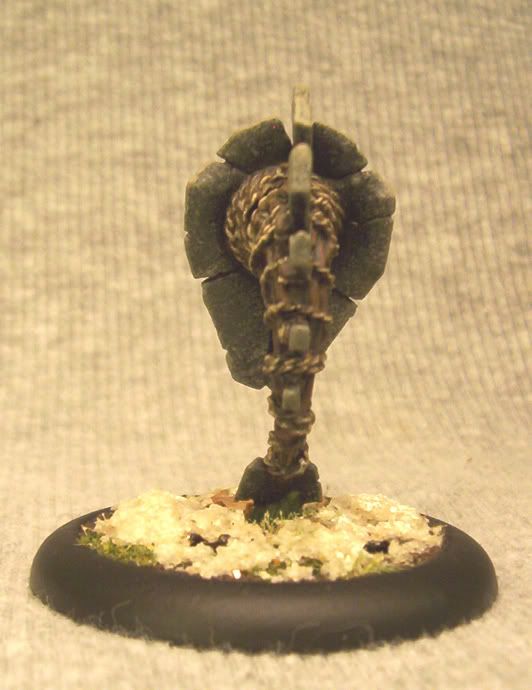
-[NEXT BLOG] Egregore (green stuff vertical support)
-[NEXT BLOG] Feralgeist (green stuff gap-fill)
Assembly List - lingering left-overs-[NEXT BLOG] Epic Skarre (after seeing in her action)
-[NEXT BLOG] Master Gunner McNaille (ubiquitous planks)
-[NEXT BLOG] Mariner (post-Simple Green soaking)
-[NEXT BLOG] Mariner (new one, for 3 total)
-[NEXT BLOG] Four (4) Long Riders (love those trolls)
Wish me lucks, all... I'll be adding some Cryx in here too as time goes on. I have to see how this weekend pans out.
----------------
Now playing:
"Starlight" by Muse
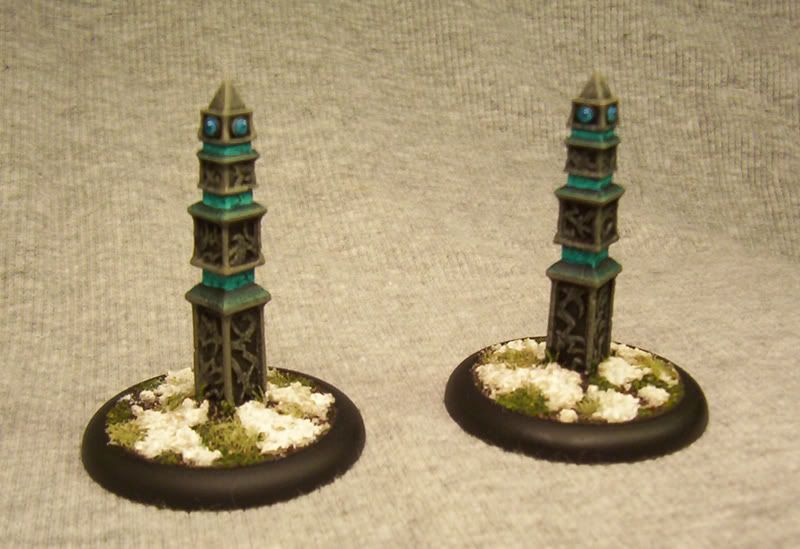
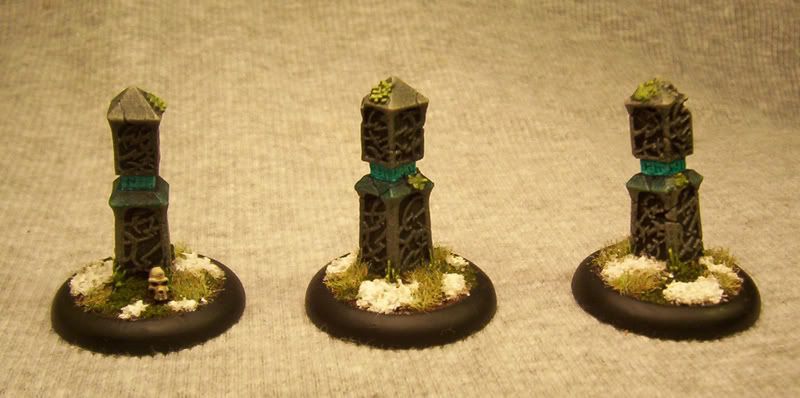

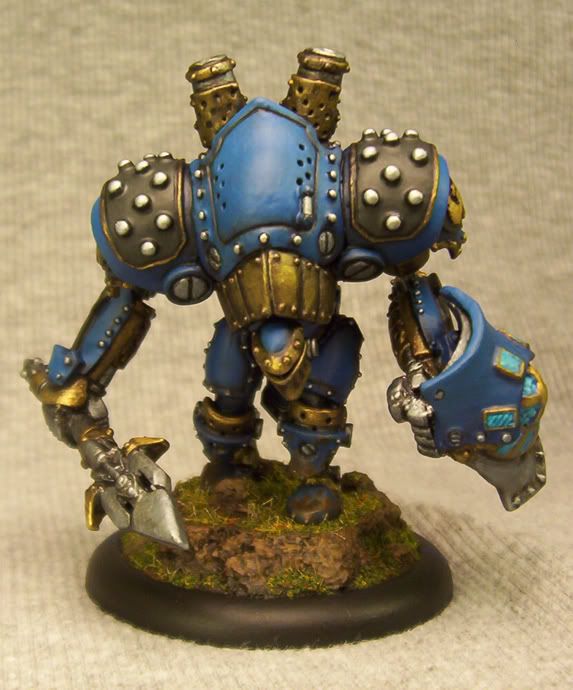
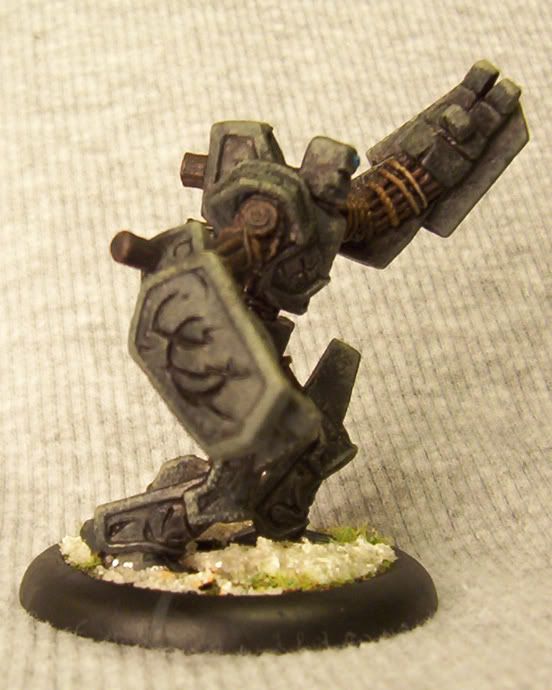
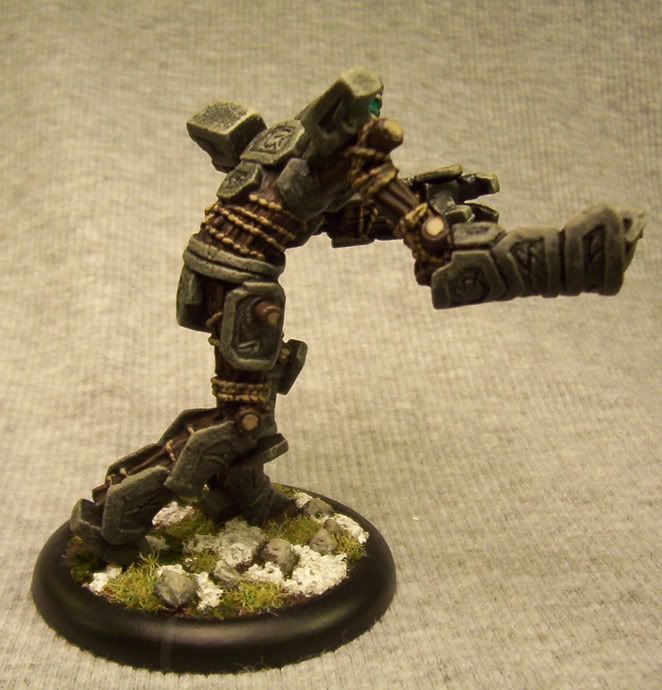
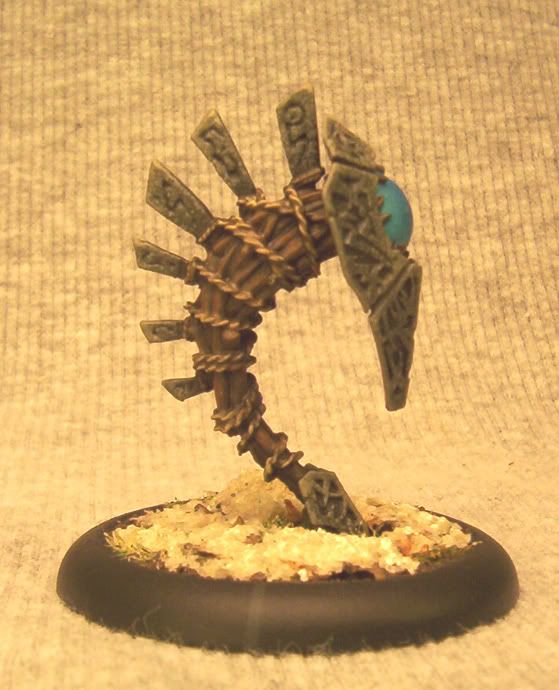
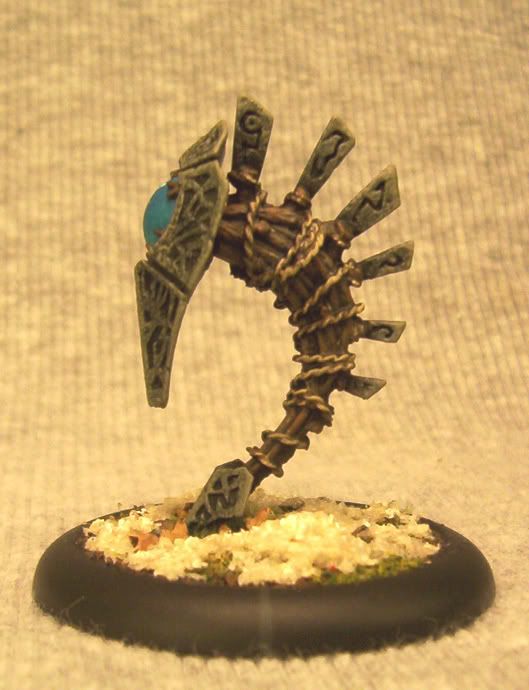
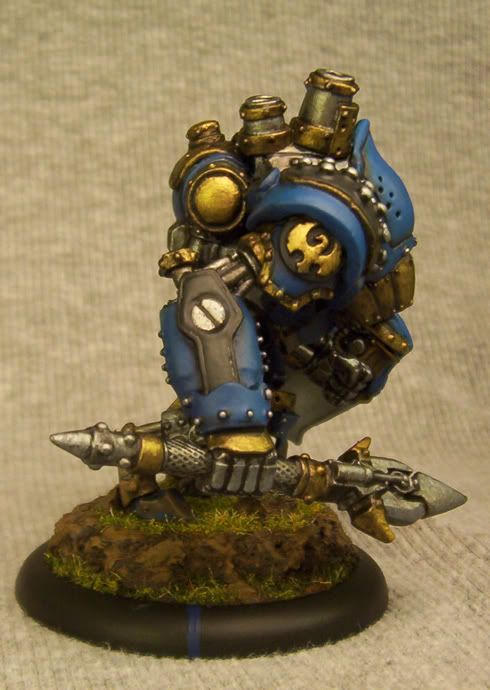
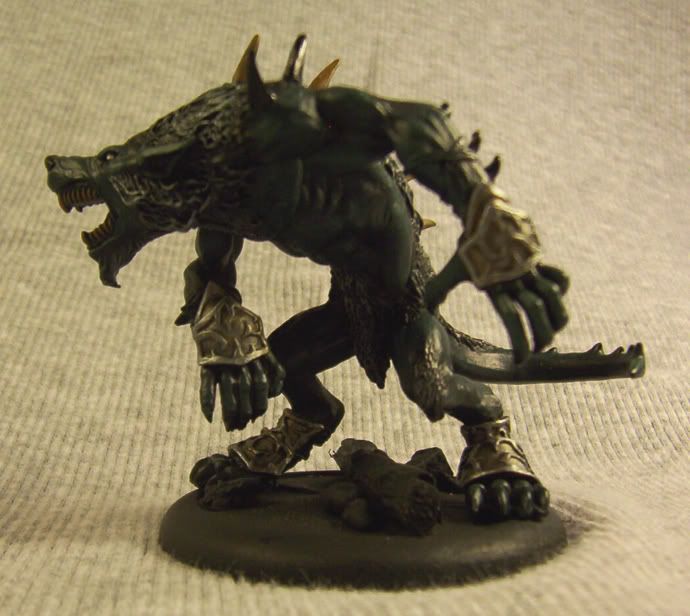 VMC Bronze + a little P3 Thamar Black
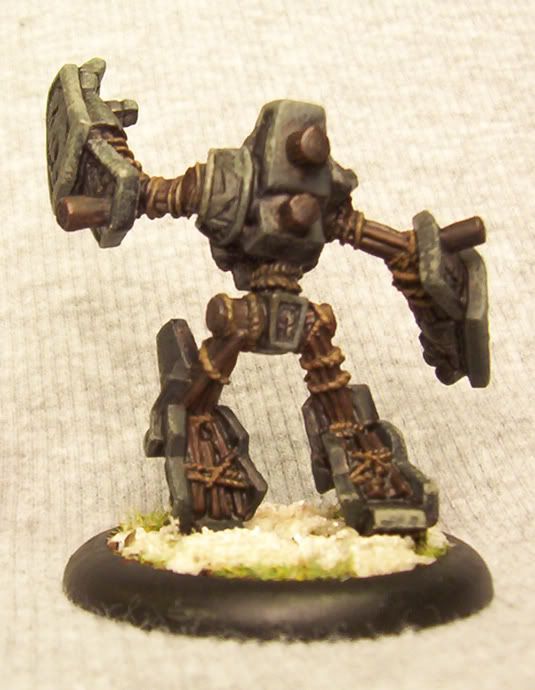
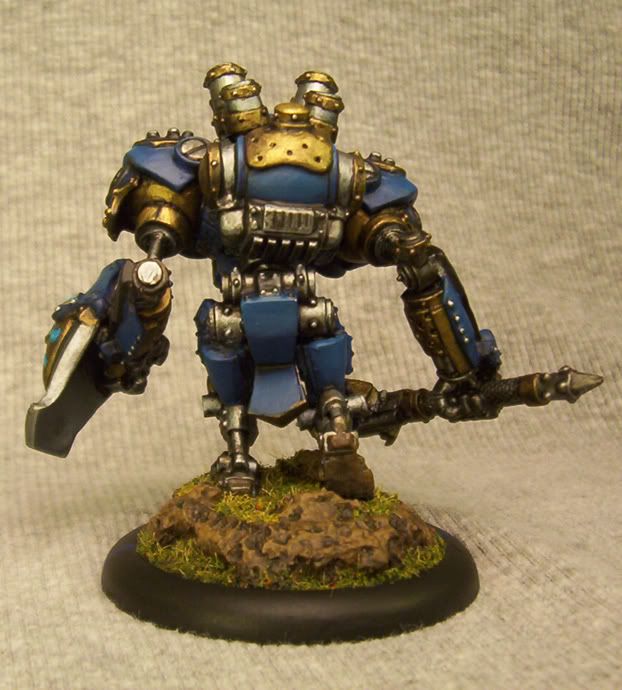
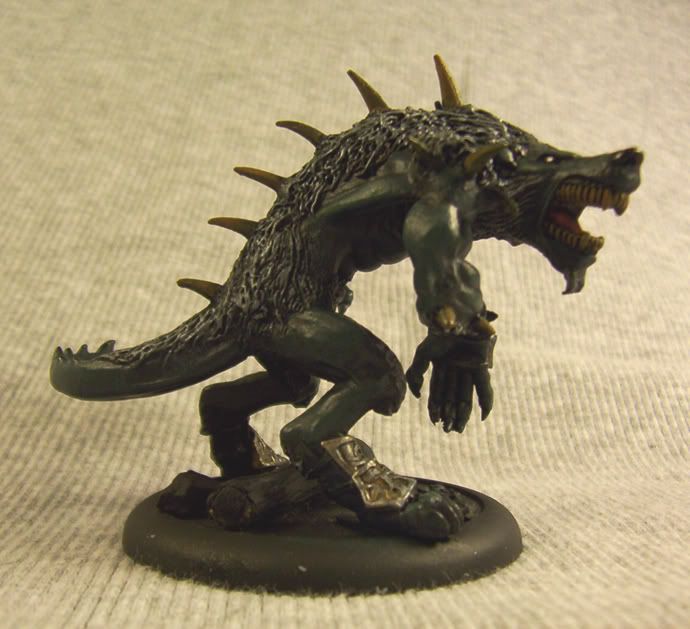
