- Fill in any flaws from the black priming with P3 Thamar Black (use thinned with about 50% paint, 25% Stokes' Magic Mix and 25% water).
- Sponge on in decreasing coverage, sequential layers, straight from the bottle: VMC Black Grey, P3 Ironhull Grey, P3 Cryx Bane Base, P3 Cryx Bane Highlight. Simulate lighting and highlights.
- Paint "eyeball" with GW Hawk Turquoise.
- Darken upper "eyeball" by mixing turquoise with Blue Ghost wash.
- Lighten the lower area by mixing in P3 Morrow White. Dot of pure P3 Morrow White opposite the lower highlight.
- Carefully paint wood and ropes with P3 Battlefield Brown, including around "eyeball".
- Wash wood and ropes with a watered mixture of P3 Battlefield Brown and P3 Armor Wash.
- Highlight back up with P3 Battlefield Brown plus P3 Trollblood Highlight and GW Bestial Brown (to warm up the wood).
- Pick out ropes with VGC Earth and a light VGC Khaki highlight here and there.
- Wash ropes with a watered mixture of P3 Battlefield Brown. Re-highlight with VGC Khaki.
- Base, gloss coat, dull coat x2 light layers, add slush mix, dry brush P3 Morrow White, and then gloss varnish the slush.
After a couple hours work, I'm on stage 11 right now. I added the slush mix this morning, now I'm hitting the movies. Later I'll be doing the gloss on the slush, and I'll be done in time to field the little bugger tonight in my Kromac rematch against Thagrosh...
W00t!
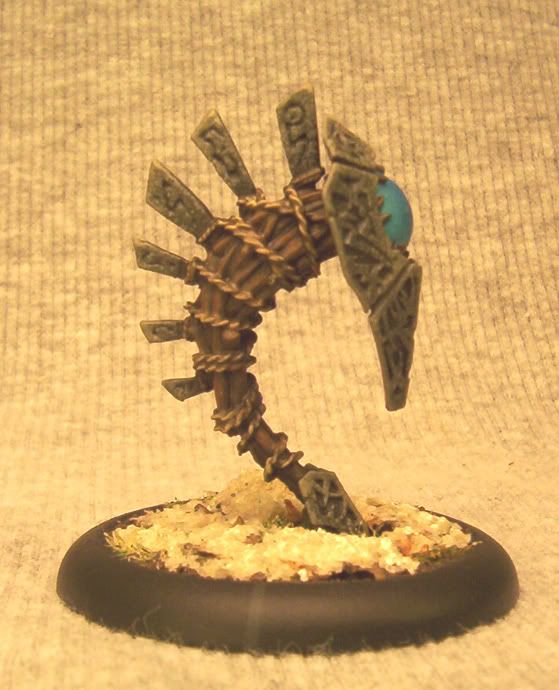
Finally, some photos...

Angle 2
Angle 3
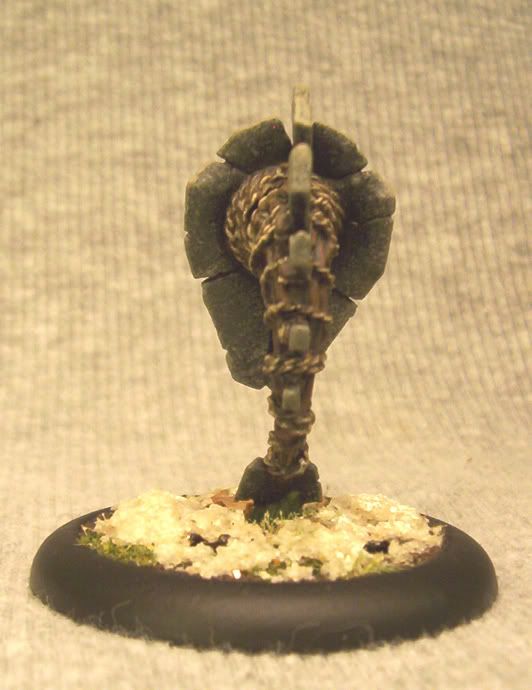
Angle 4
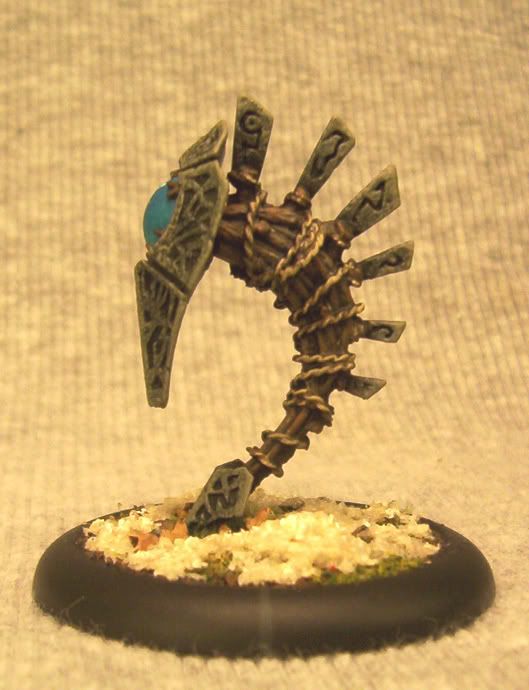
----------------
Now playing: "Cut Down" by Sister Machine Gun
No comments:
Post a Comment