Based on the narrative I wrote last year about Kaya's battle against the skorne and her relationship (a bit) with Morvahna, and given my personal desire to paint more, I'm looking for inspiration for the high lady of Orboros.
How can I work the pomegranate imagery of my story into my paint scheme for Morvi? If you have any suggestions, please include how I'd achieve the effect. So far, I'm thinking her cloak will be a deep red/pomegranate color, the color of the seeds.
Here's a good photo reference, but I'm struggling on how to achieve these colors. What would you start with and how would you shade/highlight? And here's one with more high and low lights.
(I know this post is kinda scattered, but it's an accurate portrayal of my creative process.)
EDIT: Quickly playing around with my available paints, I found that VGC Gory Red mixed with VGC Hexed Lichen, in a 5:1 ratio, resulted in the base color I'm looking for. I think adding a smidgen of VGC Imperial Purple might result in a good shading color. But the reference photos show a strange fleshy highlight color. Maybe I'll play with VMC Beige Red for a highlight mix (an almost identical color to P3 Midlund Flesh), followed by some glazes of red ink. That might work in light of the "painting gems" tutorial in NQ #16. Any thoughts?
Saturday, August 16, 2008
Friday, August 15, 2008
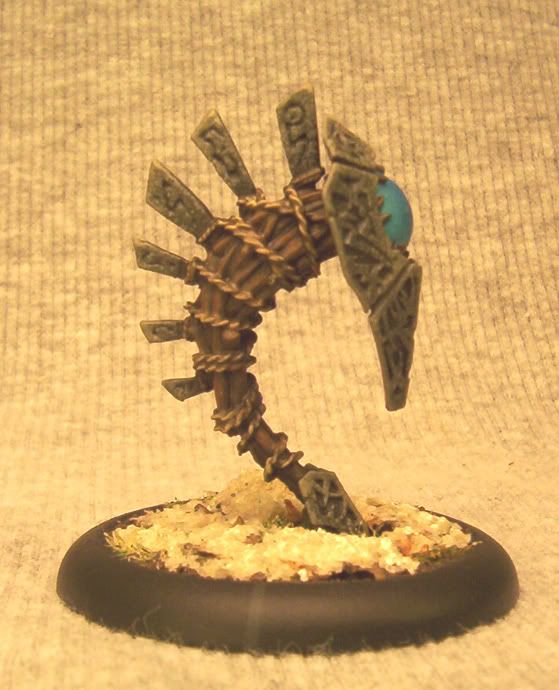
Woldwyrd Step-by-Step
Here's my Woldwyrd step-by-step, documented based on my Woldwatcher experiences, plus improvements made. I want to keep up this approach for all my constructs.
After a couple hours work, I'm on stage 11 right now. I added the slush mix this morning, now I'm hitting the movies. Later I'll be doing the gloss on the slush, and I'll be done in time to field the little bugger tonight in my Kromac rematch against Thagrosh...
W00t!
Finally, some photos...

Angle 2
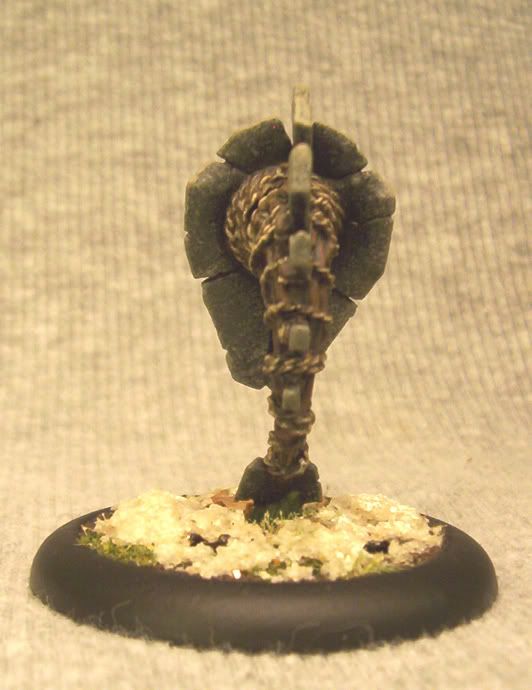
Angle 3
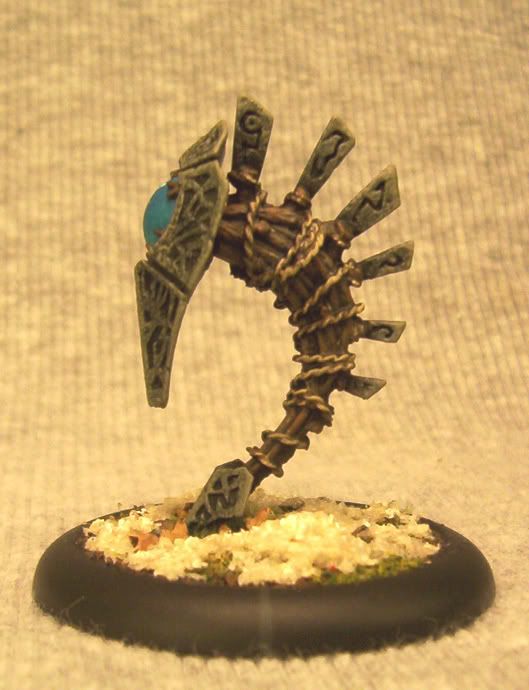
Angle 4
----------------
Now playing: "Cut Down" by Sister Machine Gun
- Fill in any flaws from the black priming with P3 Thamar Black (use thinned with about 50% paint, 25% Stokes' Magic Mix and 25% water).
- Sponge on in decreasing coverage, sequential layers, straight from the bottle: VMC Black Grey, P3 Ironhull Grey, P3 Cryx Bane Base, P3 Cryx Bane Highlight. Simulate lighting and highlights.
- Paint "eyeball" with GW Hawk Turquoise.
- Darken upper "eyeball" by mixing turquoise with Blue Ghost wash.
- Lighten the lower area by mixing in P3 Morrow White. Dot of pure P3 Morrow White opposite the lower highlight.
- Carefully paint wood and ropes with P3 Battlefield Brown, including around "eyeball".
- Wash wood and ropes with a watered mixture of P3 Battlefield Brown and P3 Armor Wash.
- Highlight back up with P3 Battlefield Brown plus P3 Trollblood Highlight and GW Bestial Brown (to warm up the wood).
- Pick out ropes with VGC Earth and a light VGC Khaki highlight here and there.
- Wash ropes with a watered mixture of P3 Battlefield Brown. Re-highlight with VGC Khaki.
- Base, gloss coat, dull coat x2 light layers, add slush mix, dry brush P3 Morrow White, and then gloss varnish the slush.
After a couple hours work, I'm on stage 11 right now. I added the slush mix this morning, now I'm hitting the movies. Later I'll be doing the gloss on the slush, and I'll be done in time to field the little bugger tonight in my Kromac rematch against Thagrosh...
W00t!
Finally, some photos...
Angle 2
Angle 3
Angle 4
----------------
Now playing: "Cut Down" by Sister Machine Gun
Saturday, August 9, 2008
Cygnar Bases
Here's the process I've developed to base my Cygnar models (from here on out that is; some of my older models are much simpler)... Make sure you allow plenty of drying time between each stage.
**I use two different spray varnishes for a couple reasons: 1) gloss is actually the stronger protector. The stuff was designed glossy, and the process that makes it dull weakens it chemically. 2) I use my models; a lot, in some cases. Having a layer of gloss coat at the bottom lets you know when the dull coat is wearing off so you can reapply before the paint is damaged. 3) I have this pesky problem where all the matte medium I use (and I use a lot) interacts with dull coat and turns a milky white in the deep recesses where it should be black. It's very annoying. I've found gloss coat doesn't interact with the matter medium. 4) I find something satisfying about bringing all the mixed gloss/satin/matte of the model up to an even gloss, and then down to an even dull, helps bring all the colors into alignment and blends away a lot of little color gradient goofs.
***My static grass mix is a roughly 50/50 mix of classic bright green static grass and GF9's Winter/Dead grass. It mutes the intensity of the green grass enough that you don't need to dry brush the grass if you don't want to. It looks more realistic, in my opinion.
So that's it. Documented for posterity. I'll post some pictures of my Centurion that I finally finished later on today or tomorrow...
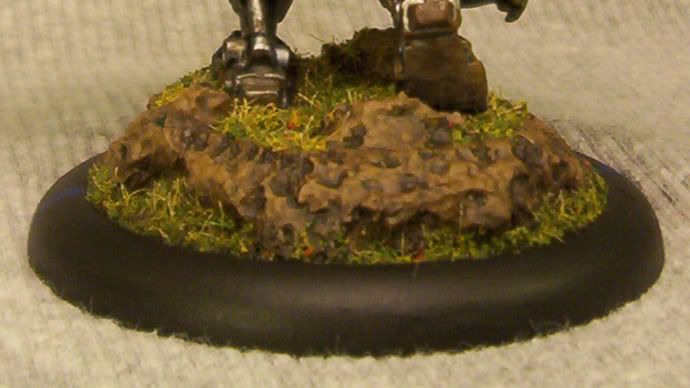
Finally, some photos... figure since this is a post about basing, I'd start there.
Then show the whole model...
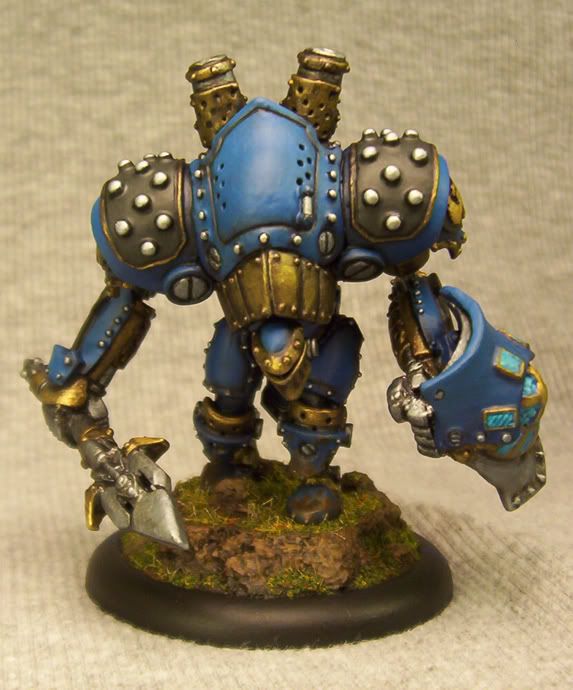
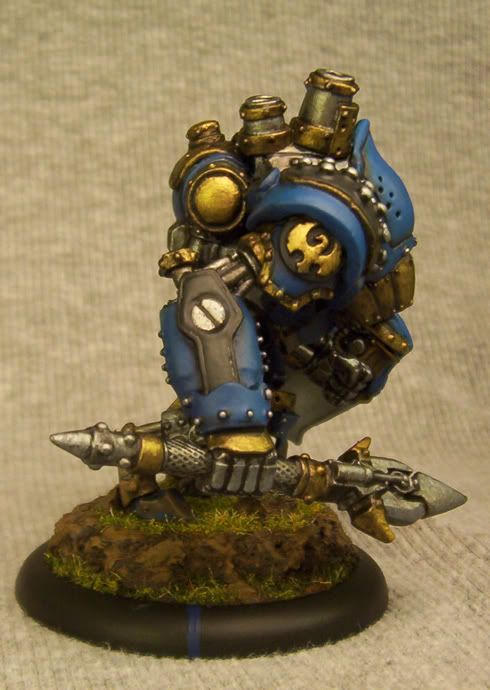
Angle 2
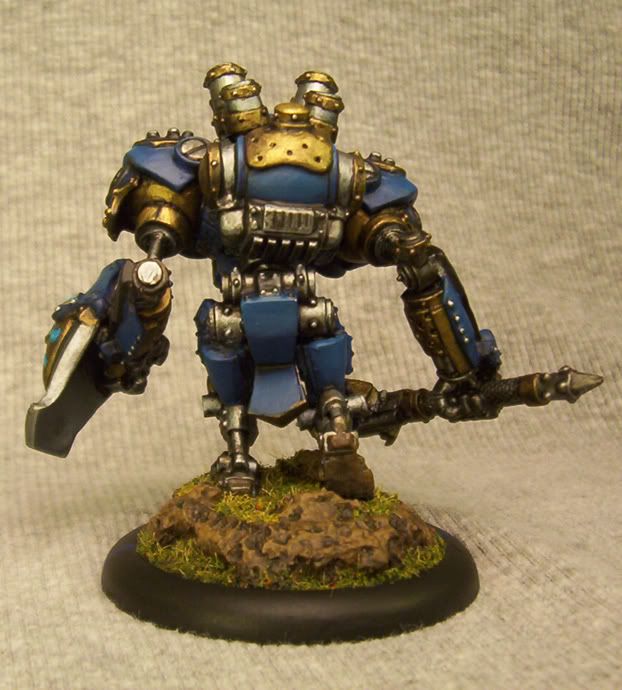
Angle 3
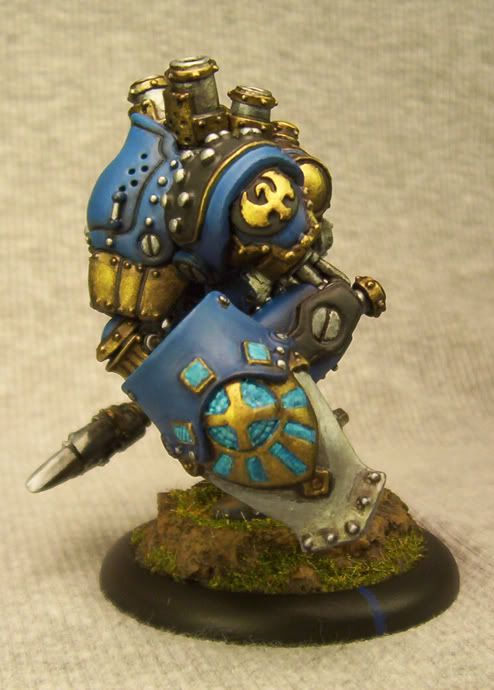
Angle 4
----------------
Now playing: "Dig It" by Skinny Puppy
- Paint entire inside area of base, including any cork, with VGC Earth.
- Using 50/50 PVA glue to water to glue my ballast/sand mix into place.
- Wash the entire base with a wash of P3 Battlefield Brown.
- For cork bases, add P3 Armor Wash to the original wash; apply in the deep recesses.
- Dry brush or stipple VGC Earth onto the natural highlights.
- Clean up black border on base; paint front arc markings in VGC Imperial Blue.
- Using above PVA mix, glue "Summer Flock" into place*.
- One strong layer of Testor's Gloss Coat, following by 2 light coats of Tester's DullCote**.
- Using above PVA mix, glue tufts of my static grass mix into place***.
**I use two different spray varnishes for a couple reasons: 1) gloss is actually the stronger protector. The stuff was designed glossy, and the process that makes it dull weakens it chemically. 2) I use my models; a lot, in some cases. Having a layer of gloss coat at the bottom lets you know when the dull coat is wearing off so you can reapply before the paint is damaged. 3) I have this pesky problem where all the matte medium I use (and I use a lot) interacts with dull coat and turns a milky white in the deep recesses where it should be black. It's very annoying. I've found gloss coat doesn't interact with the matter medium. 4) I find something satisfying about bringing all the mixed gloss/satin/matte of the model up to an even gloss, and then down to an even dull, helps bring all the colors into alignment and blends away a lot of little color gradient goofs.
***My static grass mix is a roughly 50/50 mix of classic bright green static grass and GF9's Winter/Dead grass. It mutes the intensity of the green grass enough that you don't need to dry brush the grass if you don't want to. It looks more realistic, in my opinion.
So that's it. Documented for posterity. I'll post some pictures of my Centurion that I finally finished later on today or tomorrow...
Finally, some photos... figure since this is a post about basing, I'd start there.
Then show the whole model...
Angle 2
Angle 3
Angle 4
----------------
Now playing: "Dig It" by Skinny Puppy
Subscribe to:
Comments (Atom)